We are lucky to work with exciting new start ups and established brands and one thing we have learnt over the years is that the most critical aspect of the development process is prototyping. We encourage our team and clients to prototype as much as possible throughout the project. It doesn’t have to be expensive either and in most cases, a few pieces of cardboard, a glue gun and a little imagination can be all you need to quickly test and validate your ideas.
The first visual representation of a new design is often conceived on a piece of paper, a white board, or sometimes a napkin in a restaurant is all you have to get your idea down. These initial ideas are the seeds for bigger and better things, however a sketch could never tell you what it feels like to hold the product, to feel the texture and emotional response that is incurred when you see the product for the first time. A prototype allows you to check that the reality is how you imagined it to be and to figure out how you can improve and expand on your idea.
On a component level, product handles are a good example of an area that must be tested as it’s essential to make sure that the user experience fits with the application. If the handle is too small, uncomfortable or the wrong shape, it is likely that the user will have a negative experience with the product and possibly not use it correctly, in some cases this misuse could be unsafe (Such as the handle of a fire extinguisher or stretcher)
How do I make a prototype?
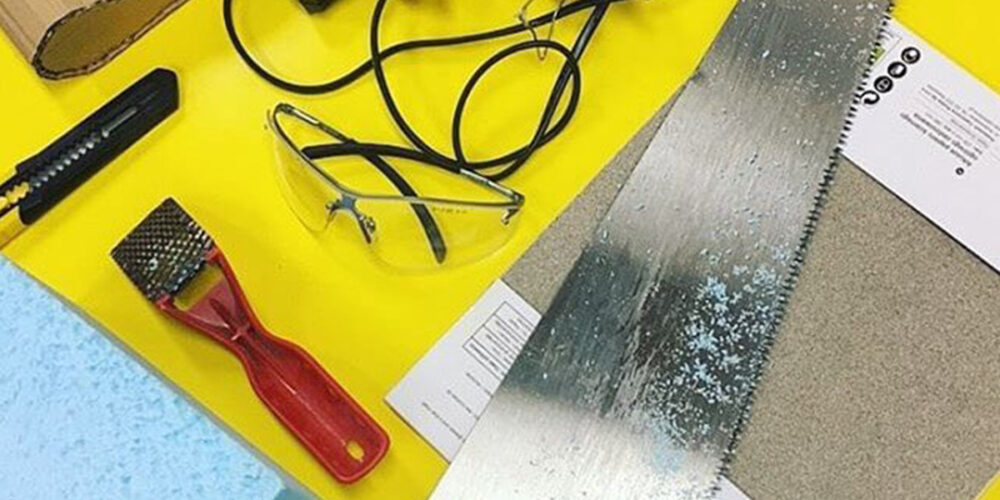
Prototypes can take many different forms and technology enhancements have brought down the cost of making more advanced incarnations of your idea. The quality of the prototype should be influenced by the stage of development and the context of the aspect you need to test. If you need to quickly show an idea to a colleague, but it doesn’t have to function to a high standard, then cardboard, blue foam and a glue gun are probably your best option. These can easily be manipulated using simple hand tools and offer you a low cost method to visualise your product idea in 3D. If it turns out that it didn’t work, or your colleague didn’t like the idea, then all you have risked is your time and the relatively low cost of the materials. As it’s quick, you can learn from the feedback and make a second, third and forth model until you get it right. Iteration is the key theme here and you want to make as many mistakes here as possible before investing into more expensive processes and materials.
There comes a point in the process where a more advanced prototype is needed and this usually means that we need to transition into a virtual 3D model. The data from the model can then be used to either 3D print the components using processes such as Fuse deposition modelling (FDM) Selective Laser Sintering (SLS) Stereolithography apparatus (SLA) or machine them from solid plastic or metal. The choice of these advanced prototyping methods depends on the size of the part, required material properties, geometry, quantity and the budget you have available. Either way, these processes are driven by the creation of a 3D model using software such as Solidworks. Our advice is to select the lowest cost method that allows you to gain valuable insight.
For more details on your prototyping requirement contact our team.
Book a free consultation
